To create the 3D mosaic vector effect we will use the Halftone effect of the Phantasm plug-in and then we will learn how to automate work in Adobe Illustrator using the Action feature. Long sequences of commands, effects and filters with multiple parameters can easily be replaced with the work of the action, which lasts no more than 5 seconds! At the end, you’ll be able to create instant works of mosaic art with this mosaic vector tutorial.
Tutorial Details: Mosaic Vector Effect
- Program: Adobe Illustrator CS2 – CC2014, Phantasm plug-in
- Difficulty: Beginner
- Topics Covered: Graphic style, Actions panel, Halftone effect
- Estimated Completion Time: 45 minutes
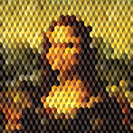
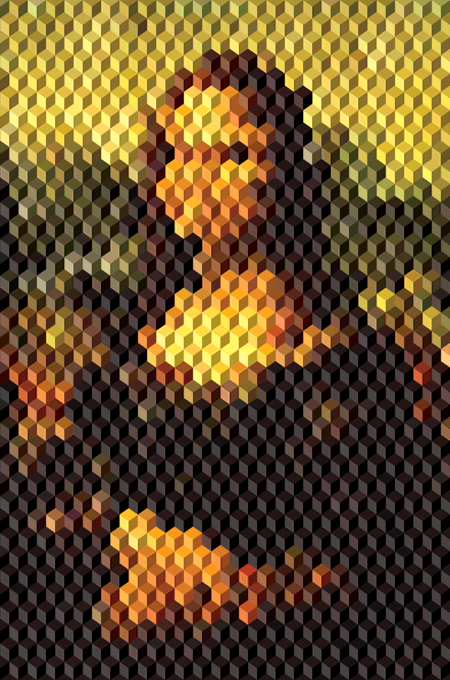
Final Image: Mosaic Vector Effect
Creating 3D cubes graphic style for mosaic vector effects
Step 1
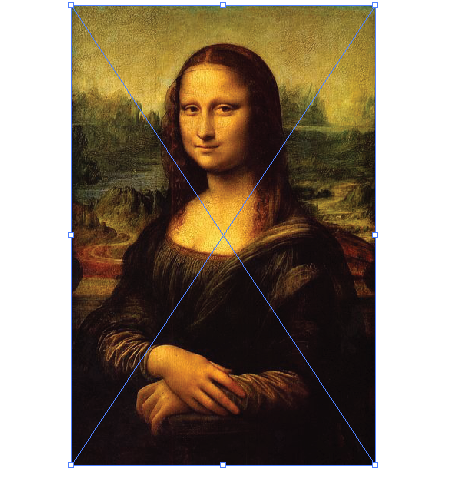
To begin this mosaic vector tutorial, let’s create a graphic style that will be used during the action. We need an object for work. Insert a raster image into the current document (File > Place …). I will use a reproduction of Mona Lisa by Leonardo da Vinci.
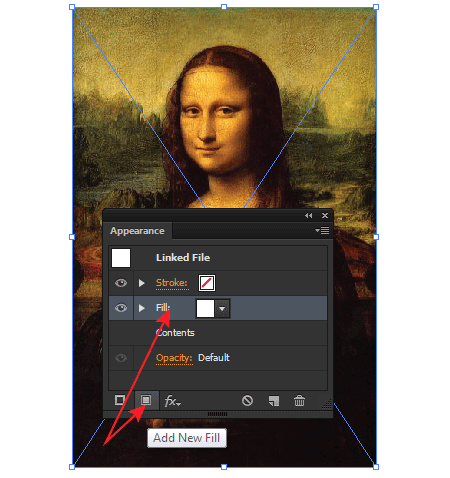
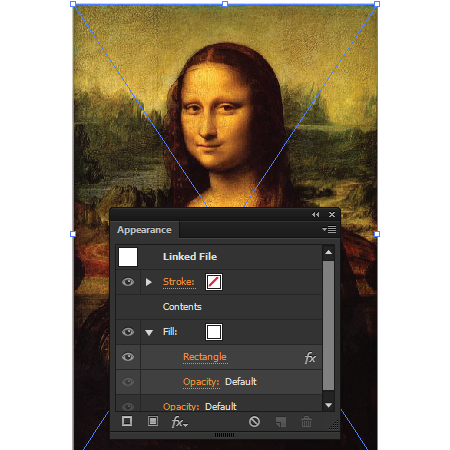
Select an image, then add the white fill to it in the Appearance panel (Window > Appearance).
Step 2
Next for this mosaic vector effect, select the white fill in the Appearance panel, then go to Effect > Convert to Shape > Rectangle…. In the opened dialog box, select the Relative Size option and set the values for Extra Width and Extra Height equal to 0.
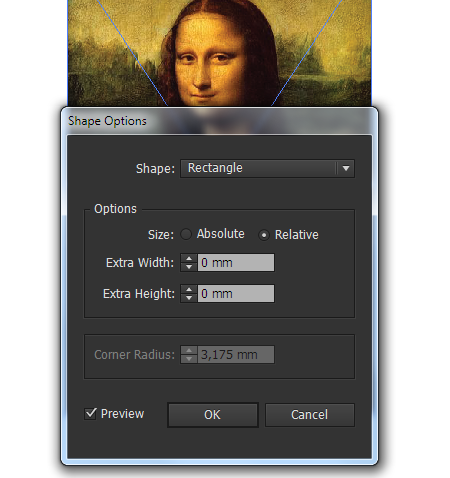
Note that the effect is applied to the target fill only.
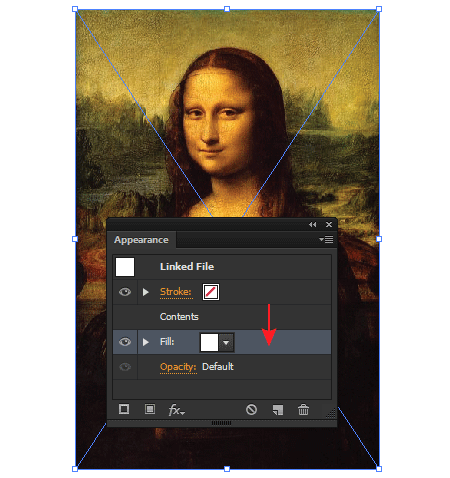
Move the white fill below Content item in the Appearance panel.
Step 3
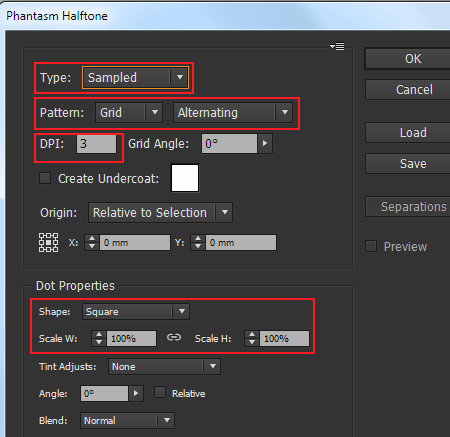
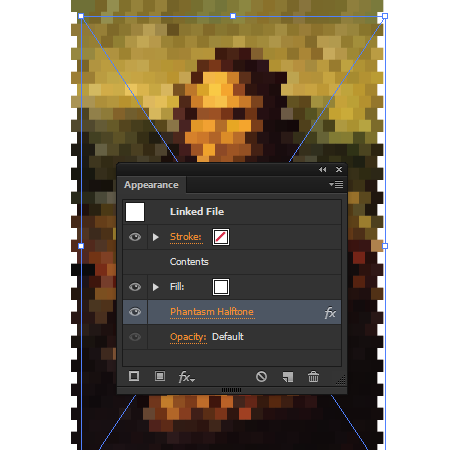
Now apply to the object the Halftone effect of Phantasm plug-in to make a mosaic vector of squares based on the raster image. Unselect white fill in the Appearance panel, then go to Effect > Phantasm > Halftone … and set the parameters shown in the picture below.
Step 4
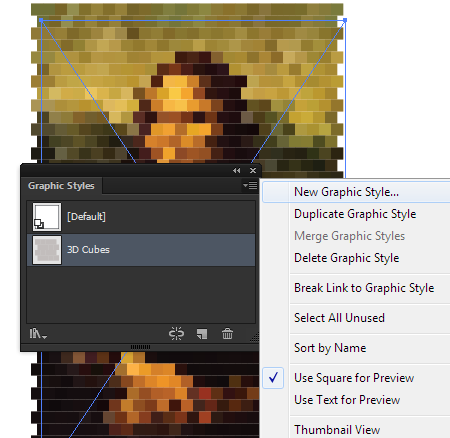
Create a graphic style that will have all the appearances of our object. Keeping the image selected, click on the New Graphic Style … in the fly-out menu of the Graphic Styles panel (Window > Graphic Styles).
Creating 3D cubes action for our mosaic vector
Step 1
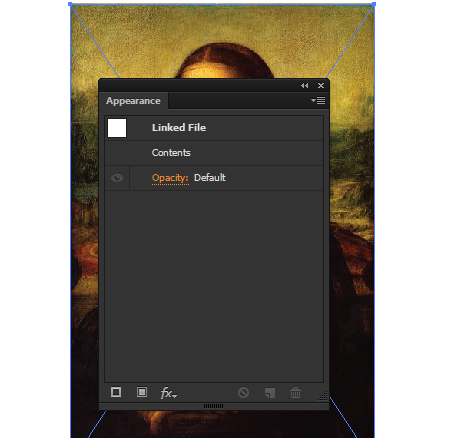
Now we need an object to create an action. We can use the same raster image, but first we need to remove the fill and all the applied effects in the Appearance panel.
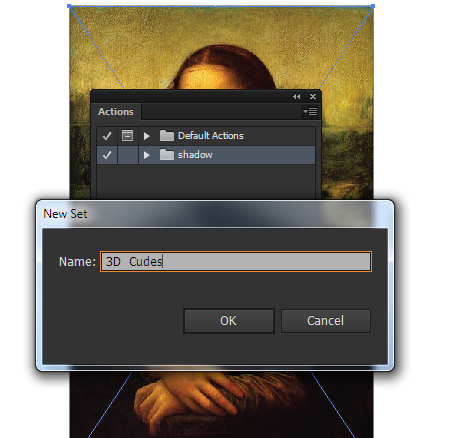
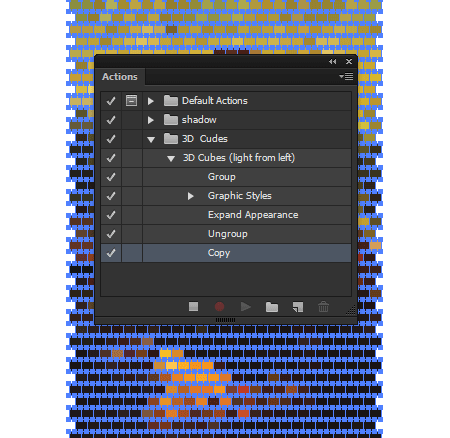
Create New Set, by clicking on New Set … in the fly-out menu of the Actions panel (Window > Actions). Type name of the set – 3D cubes.
Step 2
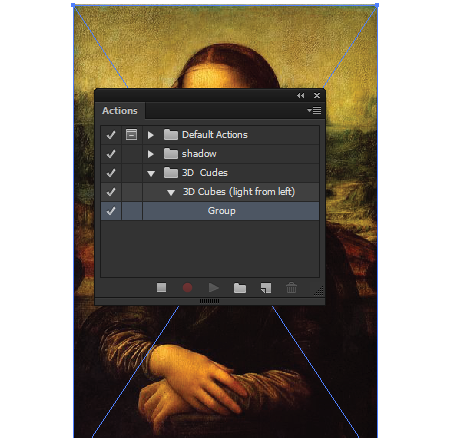
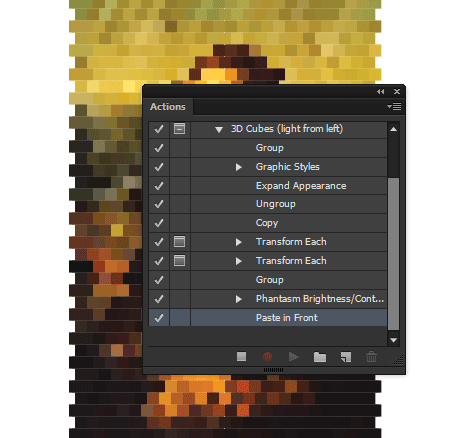
Proceed to recording the action. Click New Action … in the fly-out menu of the Actions panel. Type the name of the script 3D cubes (light from left). This is the case when the light source is on the left. Now click on the Record button.

Step 3
Group up the object (Cmd / Ctrl + G). As you can see, the perfect action was immediately recorded in the Actions panel.
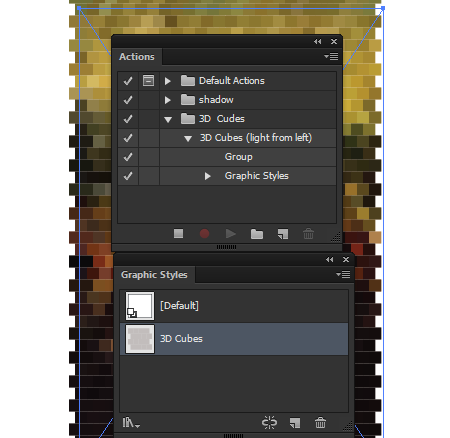
Next for your mosaic vector, apply 3D Cubes graphic style, by clicking on its thumbnail in the Graphic Styles panel.
Step 4
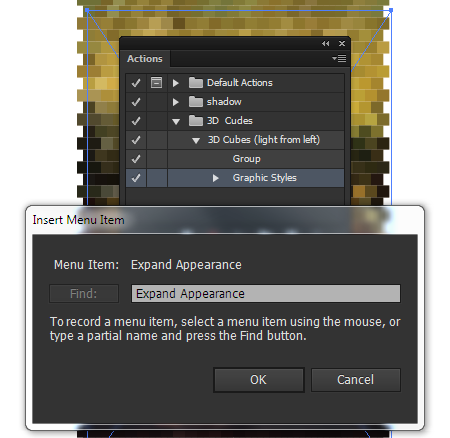
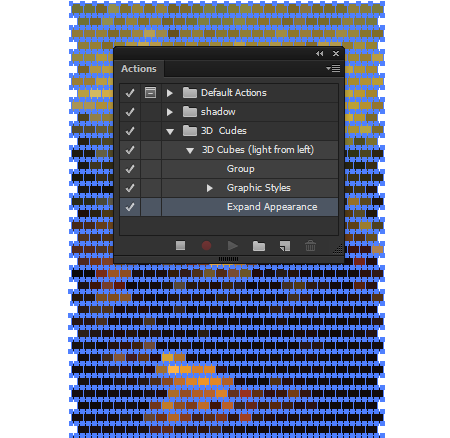
Click Insert Menu Item … in the fly-out menu of the Actions panel, then go to Object > Expand Appearance to record command in action. Now go to Object > Expand Appearance to apply the command to our group one more time.
Step 5
Ungroup objects (Shift + Cmd / Ctrl + G). Copy the selected objects (Cmd / Ctrl + C). In the future, we will insert copies twice to create different sides of the cubes.
Step 6
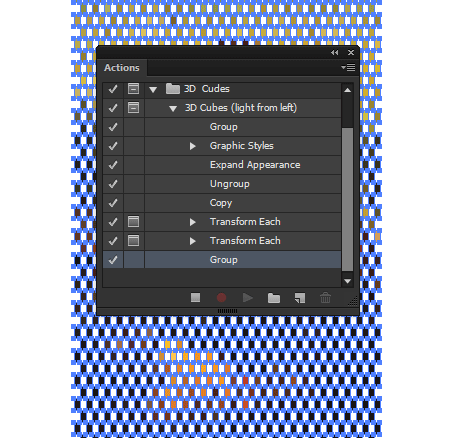
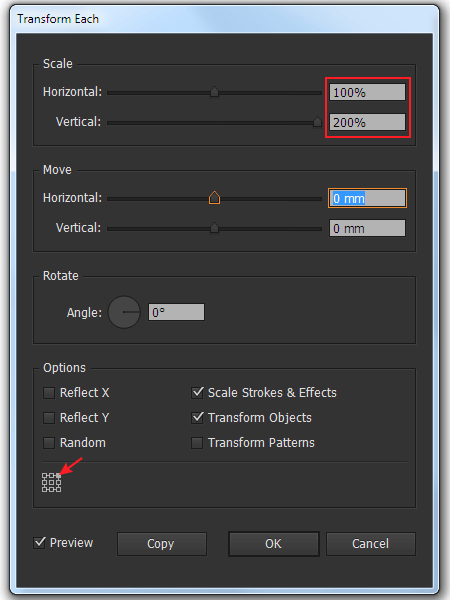
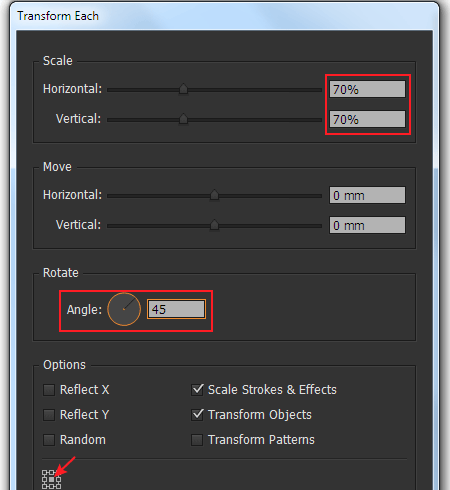
Proceed to Object > Transform > Transform Each… and set the values shown in the picture below.
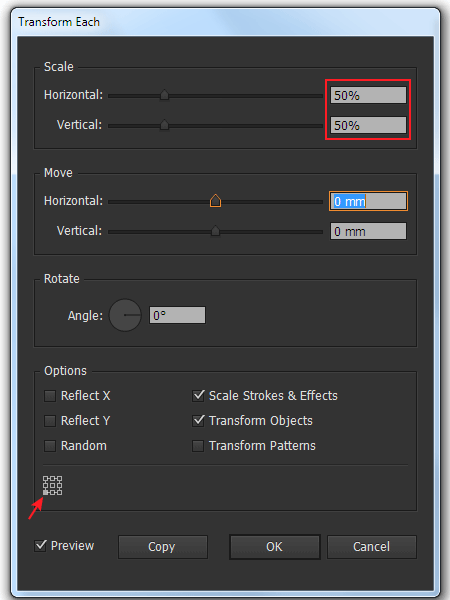
Go one more time to Object > Transform > Transform Each… and set new values of the transformation shown below. Please note the position of the Transformation Pin in both dialog boxes.

With these actions, we are creating the left side of the cubes. Group up the objects (Cmd/Ctrl + G).
Step 7
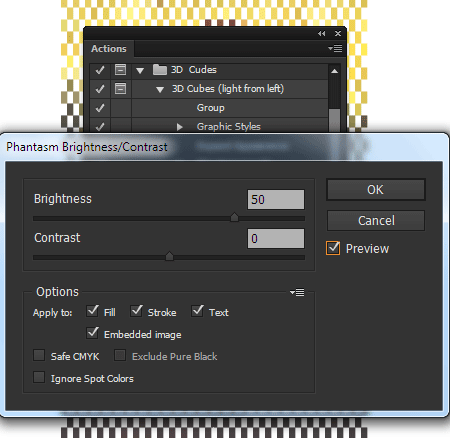
Now use Phantasm’s filter to lighten the illuminated side of the cubes. Proceed to Object > Filters > Phantasm > Brightness / Contrast … and set 50 for Brightness.
Paste in Front (Cmd / Ctrl + F). This copy will be used for creating the right side of the cubes. You can start to see the beginning of the mosaic vector effect.
Step 8
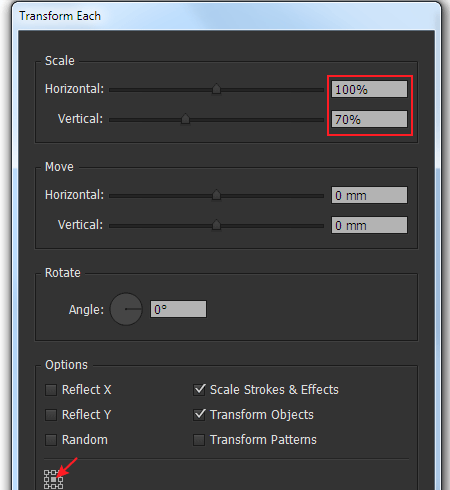
Proceed to Object > Transform > Transform Each … and set the values shown in the picture below.

Proceed again to Object > Transform > Transform Each … and set new values of transformation. Please take a look at the position of the Transformation Pin in both dialog boxes.
Group up the selected objects (Cmd / Ctrl + G).

Step 9
Go to Object > Filters > Phantasm > Brightness / Contrast … and set -50 for Brightness. This side of the cubes is located in the shade, so we darkened it.
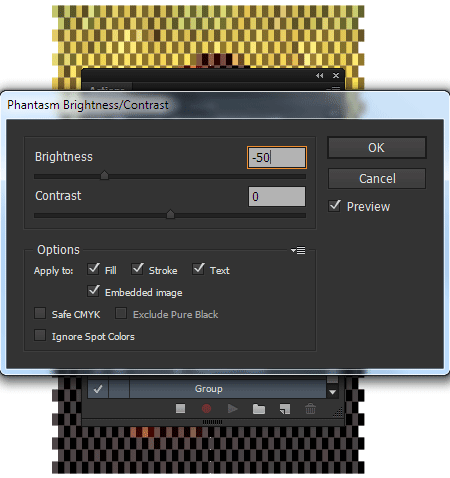
Paste in Front (Cmd / Ctrl + F). This copy will be used for the upper side of the cubes.
Step 10
Go to Object > Transform > Transform Each… and set the values shown in the picture below.
After that, click Insert Menu Item … in the fly-out menu of the Actions panel, then go to Object > Transform > Reset Bounding Box to record command in action. Now go to Object > Transform > Reset Bounding Box again to apply the command to the selected objects.

Step 11
Go to Object > Transform > Transform Each… and set the values shown in the picture below.
Group up the selected objects (Cmd / Ctrl + G).
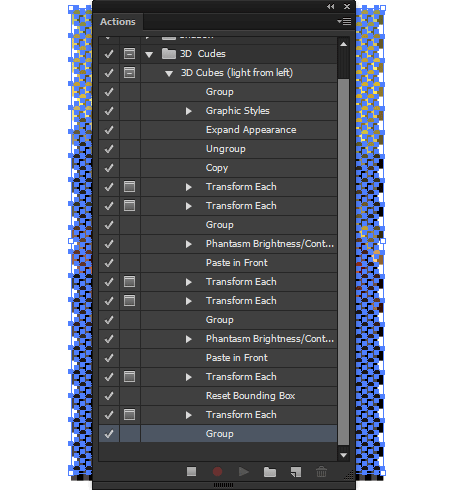
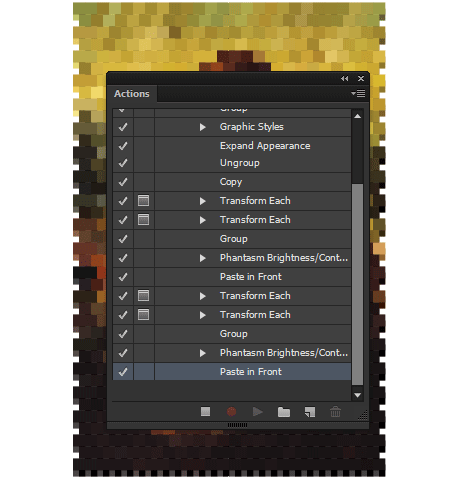
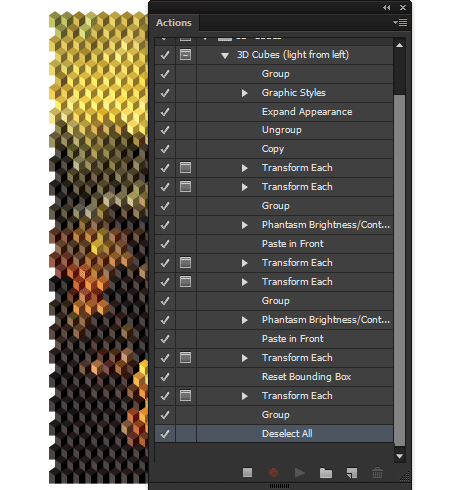
And finally, go to Select > Deselect. Now you can click on Stop in the Actions panel. Mosaic Vectors!
Step 12
Toggle off dialog icons, if you do not want dialog boxes to open during the action.
Now we can test the action. Remove all vector objects and paste raster image into the current document again. Run the script … 5 seconds its work replaced sequence of applying 21 steps, a few effects with dozens of parameters.
Step 13
Save this mosaic vector action, to do this click on the Save Actions … in the flu-out menu of the Actions panel. Saved action will now be in the panel up until you decide to delete it. If after removal you would like to use the action again, then upload it to the panel using the Load Actions command… in the fly-out menu of the Actions panel.
Now you can use 3D cubes action to apply to any raster images. By the way, if you change the value for Phantasm Brightness for the right (50) and left (-50) sides of cubes, you can change the direction of light, that means that the light source in this case will be on the right.
I would also like to mention that this mosaic vector action can be successfully applied to vector objects, making it completely all-purpose. Wish you successful experiments!

Author: Iaroslav Lazunov
My name is Iaroslav Lazunov, I am a graphic designer from Ukraine. I am glad that I finally found a job in my life that I can share my knowledge and experiments with you in my tutorials. Follow me on Twitter or visit my blog Vectorboom.com
The post Insta-Art: Wow Your Friends with this Mosaic Vector Effect appeared first on Vectips.
Insta-Art: Wow Your Friends with this Mosaic Vector Effect
Geen opmerkingen:
Een reactie posten